Moocable is learner-supported. When you buy through links on our site, we may earn an affiliate commission.
Description
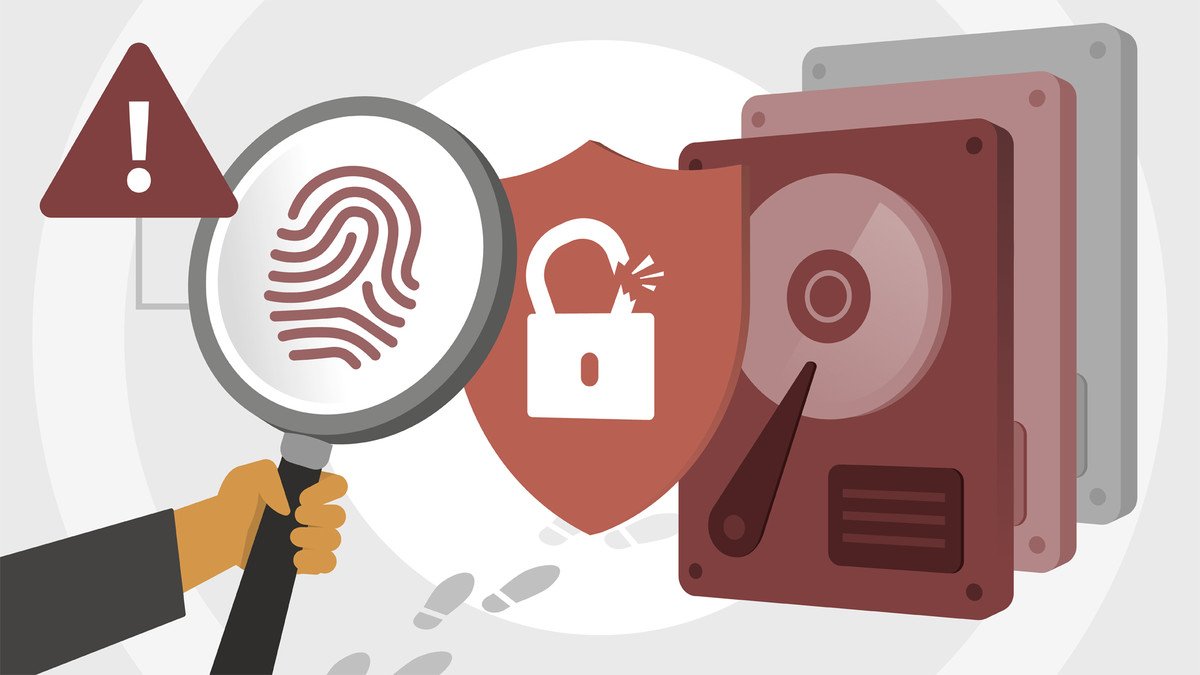
Learn how to perform evidence collection—a vital step in incident response. Find out how to collect volatile and non-volatile data and build an evidence report.
Tags
Syllabus
Introduction
- You've been hacked
- What you need to know before taking this course
- Conducting an incident response
- Preparation in the key to success
- Storage devices in Windows
- Installing FTK Imager
- Installing DD for Windows
- Preparing your evidence collection drive
- Creating a USB drive with trusted tools
- Validating our trusted tool kit
- Evidence collection
- Volatile and nonvolatile data
- Acquiring a memory image in Windows
- Acquiring a memory image in Windows in DumpIt
- Using CryptCat and Tee
- Collecting the data/time of the victim
- Documenting the logged on users
- Documenting open network connections
- Documenting the running processes
- Documenting any shared files
- Nonvolatile evidence collection
- Collecting disk attributes using Disk Map
- Documenting completion of live collection
- Verification of data collected
- Graceful shutdown
- Write blockers
- Enabling a software write blocker in Windows
- Imaging a drive with the FTK Imager
- Imaging a drive with Forensic Imager
- Encryption in Windows
- Determining if BitLocker is running
- Securing a system with BitLocker
- BitLocker implementation and recovery password
- Creating a report
- Example report
- Next steps
 Online Course


Incident Response: Evidence Collection in Windows
Affiliate notice
-
TypeOnline Course
-
Provider
Learn how to perform evidence collection—a vital step in incident response. Find out how to collect volatile and non-volatile data and build an evidence report.
Introduction
- You've been hacked
- What you need to know before taking this course
- Conducting an incident response
- Preparation in the key to success
- Storage devices in Windows
- Installing FTK Imager
- Installing DD for Windows
- Preparing your evidence collection drive
- Creating a USB drive with trusted tools
- Validating our trusted tool kit
- Evidence collection
- Volatile and nonvolatile data
- Acquiring a memory image in Windows
- Acquiring a memory image in Windows in DumpIt
- Using CryptCat and Tee
- Collecting the data/time of the victim
- Documenting the logged on users
- Documenting open network connections
- Documenting the running processes
- Documenting any shared files
- Nonvolatile evidence collection
- Collecting disk attributes using Disk Map
- Documenting completion of live collection
- Verification of data collected
- Graceful shutdown
- Write blockers
- Enabling a software write blocker in Windows
- Imaging a drive with the FTK Imager
- Imaging a drive with Forensic Imager
- Encryption in Windows
- Determining if BitLocker is running
- Securing a system with BitLocker
- BitLocker implementation and recovery password
- Creating a report
- Example report
- Next steps
Loading...
Saving...
Loading...